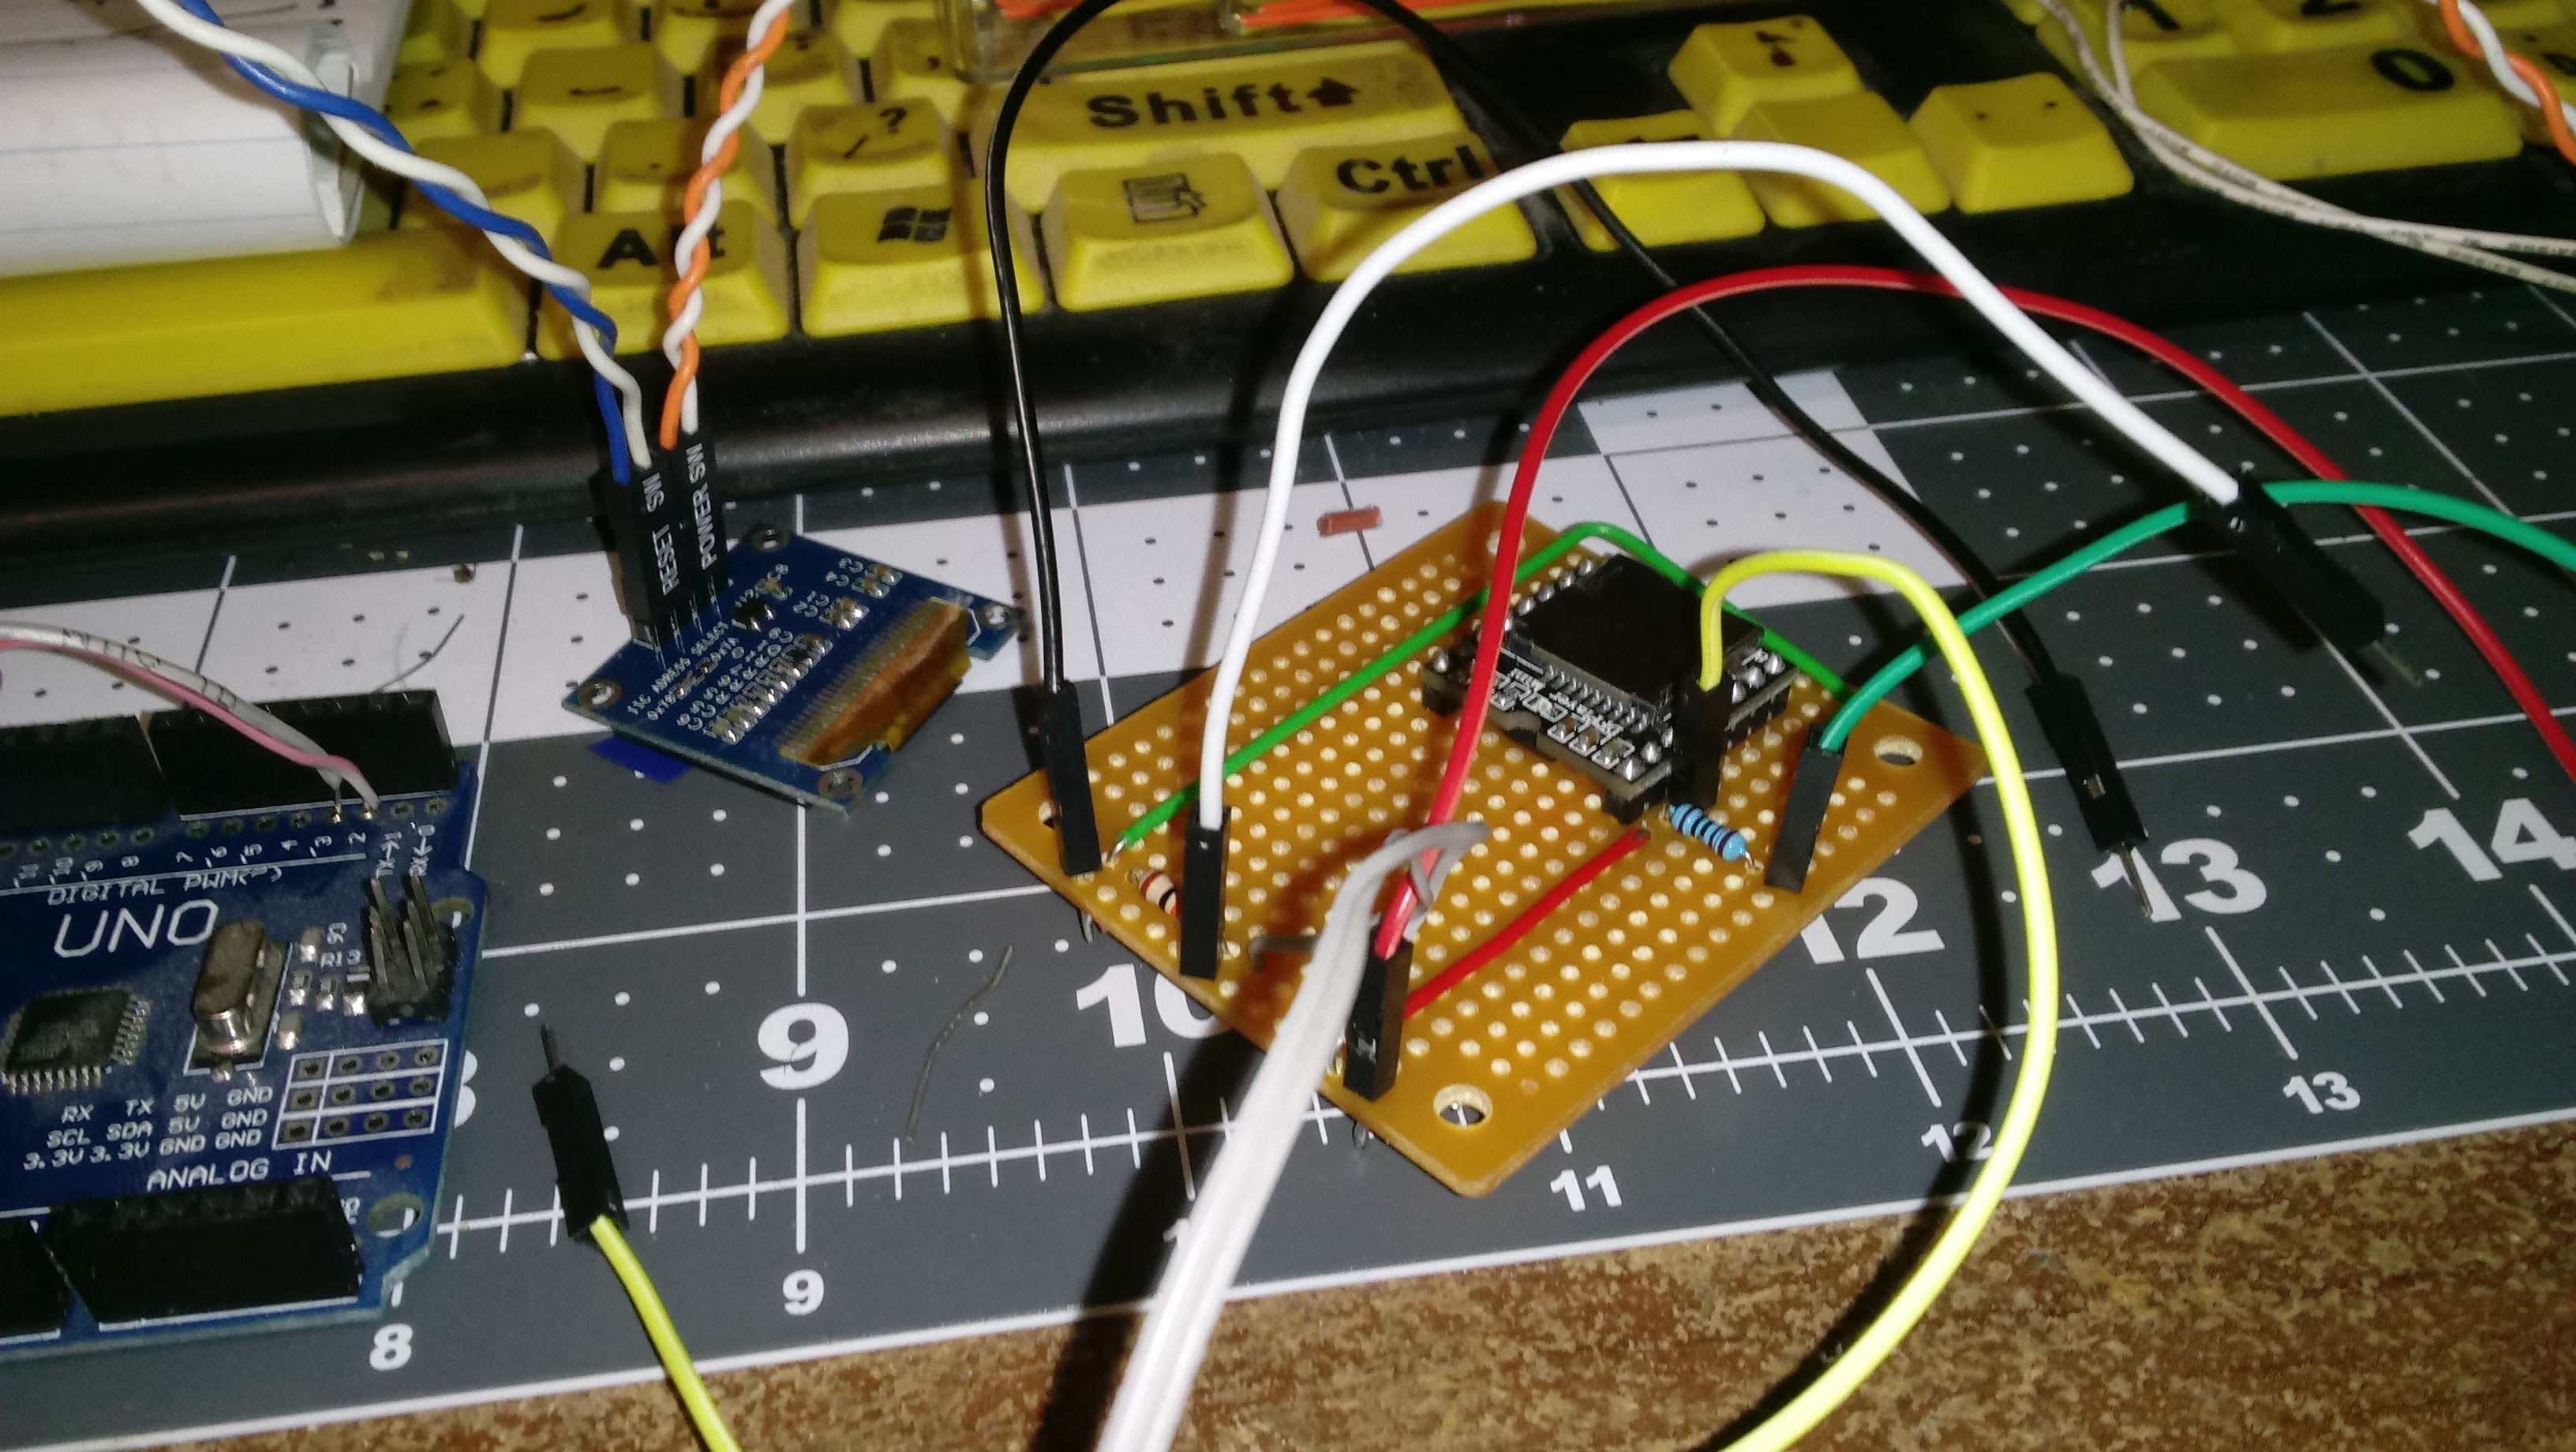
I’m lame

So I was going to document the project I posted about back in November, but I got so wrapped up in building and coding it, that I barely remembered to take pictures of the process. So here’s what I did:

I found a replica of an old Gothic arch radio, and gutted it. It had a 120VAC-to-9VAC transformer, so I built a rectifier to convert that to ~9VDC power the project. I used an Arduino to control the MP3 module I mentioned in the last post, based on input from a rotary encoder that replaced the tuning knob. The encoder could be rotated to select a track, and pushed to either play or paused, depending on the current status of the MP3 module. A 1″ OLED replaced the tuning dial to display the track number and play/pause status. For volume control, I ended up using the Arduino to read the resistance of the original volume pot, and then set the volume output of the MP3 module itself. This worked much better, and I managed to not blow up the 2nd module. Just as a precaution, however, the module got mounted to headers that I soldered to the board, so it could be replaced without having to desolder it.

The SD card was then loaded up with 150 or so episodes of “The Inner Sanctum Mysteries” and I presented to to my Grandma for Christmas, along with a little photobook that contained a complete track listing and some pics of me building the project.

Rats

So the previously posted code was working well on the breadboarded version of my project, so I started soldering it into a more permanent form. All was working well until I tried to add a volume knob to the audio output, and now all I get is a loud hum in the speaker when powered by AC, and the arduino just dies when powered via USB. The MP3 board does not respond at all now, and I fear I may have fried it. Thank goodness I bought two of them. Now to try desoldering the module…

New project, new code….

/*
Rotary encoder:
Connect the middle pin of the three to ground.
The outside two pins of the three are connected to
digital pins 2 and 3
Encoder button on pin 4 with a pulldown resistor

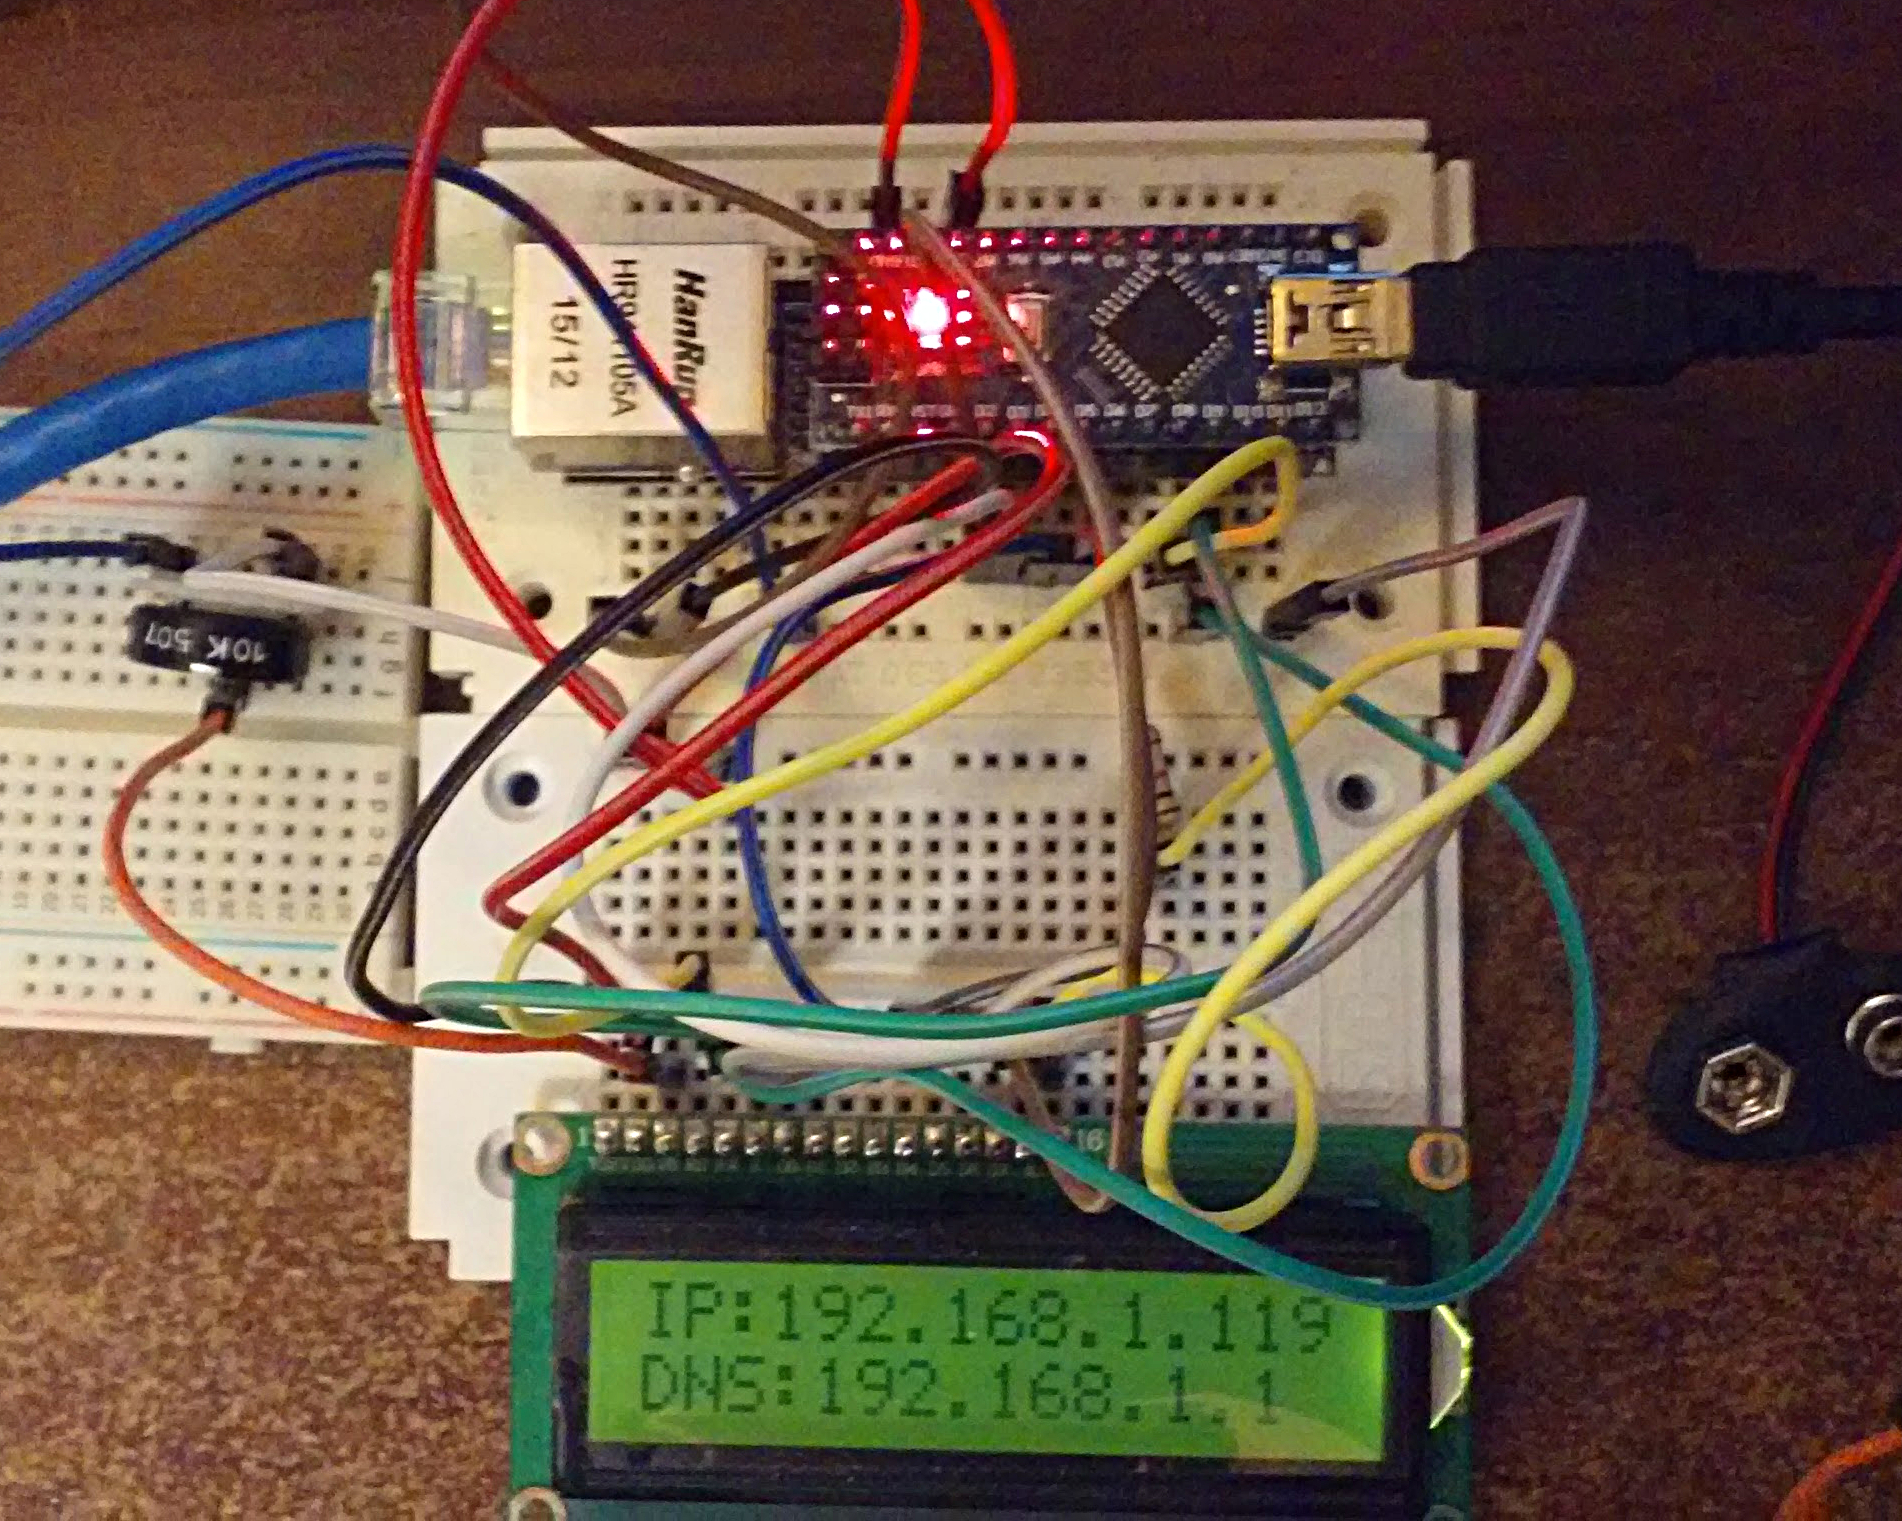
DFPlayer module connected to digital pins 10 and 11

OLED connected to i2c SCL/SDA

*/

#include
#include
#include “SoftwareSerial.h”
#include “DFRobotDFPlayerMini.h”

#ifdef U8X8_HAVE_HW_SPI
#include
#endif
#ifdef U8X8_HAVE_HW_I2C
#include
#endif

U8G2_SSD1306_128X64_NONAME_1_HW_I2C u8g2(U8G2_R0, /* reset=*/ U8X8_PIN_NONE);

volatile int number = 1; // Testnumber, print it when it changes value,
// used in loop and both interrupt routines
int oldnumber = 0;
char num=’ ‘;
volatile boolean halfleft = false; // Used in both interrupt routines
volatile boolean halfright = false;
const int buttonPin = 4;
int buttonState = 0; // variable for reading the pushbutton status
int old_buttonState = 0; // variable for pervious pushbutton status
int state = 0; // state
int current = 0;

SoftwareSerial mySoftwareSerial(10, 11); // RX, TX
DFRobotDFPlayerMini myDFPlayer;
void printDetail(uint8_t type, int value);

void setup(){
mySoftwareSerial.begin(9600);
Serial.begin(9600);
pinMode(2, INPUT);
digitalWrite(2, HIGH); // Turn on internal pullup resistor
pinMode(3, INPUT);
digitalWrite(3, HIGH); // Turn on internal pullup resistor
attachInterrupt(0, isr_2, FALLING); // Call isr_2 when digital pin 2 goes LOW
attachInterrupt(1, isr_3, FALLING); // Call isr_3 when digital pin 3 goes LOW
pinMode(buttonPin, INPUT);
digitalWrite(buttonPin, HIGH); // Turn on internal pullup resistor
u8g2.begin();
Serial.println();
Serial.println(F(“Initializing DFPlayer … (May take 3~5 seconds)”));

if (!myDFPlayer.begin(mySoftwareSerial)) { //Use softwareSerial to communicate with mp3.
Serial.println(F(“Unable to begin:”));
Serial.println(F(“1.Please recheck the connection!”));
Serial.println(F(“2.Please insert the SD card!”));
while(true);
}
Serial.println(F(“DFPlayer Mini online.”));
myDFPlayer.volume(20); //Set volume value. From 0 to 30

}

void loop(){
if (number<=0) number=149; if (number>=150) number=1;
if(number != oldnumber){ // Change in value ?
Serial.println(number); // Yes, print it (or whatever)

u8g2.firstPage();

num=char(number);
do {
u8g2.setFont(u8g2_font_osb21_tf);
u8g2.drawStr(18,24,”Track:”);
// u8g2.setFont(u8g2_font_logisoso32_tn);
u8g2.setFont(u8g2_font_osb35_tn);
u8g2.setCursor(24,64);
u8g2.print(number);
} while ( u8g2.nextPage() );

oldnumber = number;

}
buttonState = digitalRead(buttonPin);
// check if the pushbutton is pressed.
// if it is, the buttonState is HIGH:
if ((buttonState == HIGH) && (old_buttonState == LOW)) {
state = 1 – state;
delay(10);
if ((current == number) && (state == 1)) { myDFPlayer.start();}
// if (state == 0) {myDFPlayer.pause();}
if ((current == number) && (state == 0)) {myDFPlayer.pause();}
if ((current != number) && (state == 0)) {myDFPlayer.play(number);current=number;buttonState=old_buttonState;}
if ((current != number) && (state == 1)) { myDFPlayer.play(number);current=number;}

}

Serial.println(current);
old_buttonState=buttonState;
// Serial.println(state);
}

void isr_2(){ // Pin2 went LOW
delay(1); // Debounce time
if(digitalRead(2) == LOW){ // Pin2 still LOW ?
if(digitalRead(3) == HIGH && halfright == false){ // –>
halfright = true; // One half click clockwise
}
if(digitalRead(3) == LOW && halfleft == true){ // <–
halfleft = false; // One whole click counter-
number–; // clockwise
}
}
}
void isr_3(){ // Pin3 went LOW
delay(1); // Debounce time
if(digitalRead(3) == LOW){ // Pin3 still LOW ?
if(digitalRead(2) == HIGH && halfleft == false){ // <– halfleft = true; // One half click counter- } // clockwise if(digitalRead(2) == LOW && halfright == true){ // –>
halfright = false; // One whole click clockwise
number++;
}
}
}

Arduino ethernet gizmo

Ordered an Arduino Nano a while back along with an ethernet shield that plugs right on to it. Finally got around to messing with it last night, and built a prototype tester:

ether

What I’m aiming for here is a small handheld device I can use at work to test data jacks to see if they are a.) live and b.) what subnet they are on. I’ve got the code working using the EtherCard library, and right now I’m pushing the IP, GW and DNS addresses out to the serial monitor, and the IP and DNS out to my trusty little LCD display. To paraphrase Sheriff Brody, however, I’m gonna need a bigger display.

As you can see in the above pic, if I don’t lose the text identifiers, I won’t be able to handle addresses that are using all three digits on all of the four octets. I suppose I could use the first line of the display for the text and the second for the address, and just have a push button that rotates through the different addresses, but I’d like to have it all on one screen.

I’ve been looking at various displays, and I’m leaning toward a 2.4″ Nextion display. The Nextion would be nice as it only uses four wires: two for data and two for power. Contrast that with my LCD which is using something like six data lines, two power lines for the display, two power lines for the backlight, a R/W signal line, and a contrast input from a potentiometer. That’s a lot of wiring.

I’ve been thinking about using a 7″ Nextion for the digital gauge project, so this would be a great way to learn the ins and outs of the device on a much cheaper model before pulling the trigger on buying the much larger (and more expensive) one.

Hall Sensor test.

The Hall Sensor finally showed up from China, and I wasted no time in rigging up a redneck gizmo out of cardboard to test it:

The Arduino is now reading the pulses from the Hall Sensor (rather than the pushbutton I was using before), and converting to MPH. All other values on the display are still random.

Ack!

Not sure what’s going on with my spinach, in the last week and a half, both of the seedlings have just keeled over. Shock from the transplanting, perhaps?

I stuck some more seeds down in the grow media, and they are just starting to poke their leaves out, so there is hope yet. The Salad Bowl lettuce is looking good, tho’.

I was cutting up a Roma tomato the other day, and stuck some of the seeds straight into some moist coco-coir in a net pot, and just set it in some water. As you can see, they are taking off:

I also made a change to the nutrient solution I am using. I took a look down into one of the coffee cans and noticed that most of the dollar store fertilizer I had put in there had failed to dissolve, so I bought some Miracle-Gro and put a bit of that into each one of them. Hopefully that will help them take off and grow like mad.

‘tater time!

The other day I was cutting up some red potatoes for some dish I was cooking, and decided to save the end off of one of them, which happened to have a couple of nice eyes on it. I threw it in a flower pot full of potting soil and started watering it and a week later I’ve got this little guy:

I picked up a five-gallon food-grade bucket at the Eegees corporate office (only $2.50, with the lid!) and drilled some holes in the bottom:

I found an old piece of shade cloth and cut it to line the bottom:

I put a couple of inches of potting soil mixed with coco-coir in the bottom of the bucket, then carefully transplanted my little seed potato in there, and covered it up with potting soil right to the bottom of the leaves:

Kinda hard to see it, but it’s in there. As it grows, I’ll keep filling the bucket up until it gets to the top, and in a few months I will hopefully have a bunch of potatoes!

Salad update

I’ve got the seedlings transplanted to the coco-coir filled net pots which are suspended in coffee cans full of homemade hydroponic solution. I need to get some real hydroponic fertilizer, but for now I’m using distilled water and some Dollar Store plant food, Epsom Salts, and calcium acetate that I made by dissolving eggshells in vinegar. We’ll see how it goes. Interestingly, the Salad Bowl lettuce (the two on the right in the pic below) has caught up to the other plants, even though it was sprouted a week later. Maybe that’s because the Spinach and Mesclun were sprouted in dirt, and the Salad Bowl was sprouted in coco-coir that was soaked with the homemade hydroponic solution.

Mr. Green Thumb, maybe?

So I said I was thinking about messing around with some hydroponics, and I totally wasn’t kidding. About a week ago I started some Lavewa spinach and some Mesclun lettuce, here’s how they are looking this morning:

SONY DSC

Hmm, could be time to water the spinach, it’s there on the left. A couple of days ago I also started some “Salad Bowl” Lettuce, it’s looking pretty good so far:

I found that the Wal-Mart deli puts out small amounts of take-away food in these cool little containers and they leave it under a heat lamp next to one of the registers. Get there at the right time of the day, and it’s 50% off, so you can get a neat little greenhouse for sprouting, plus three or four chicken wings for a buck or so. Win-win for me. 🙂

Once these get big enough, I’ll transplant them into some coco-coir in net pots suspended in recycled coffee cans full of hydroponic solution, and see how they do. Funny story about the net pots. I was buying four-packs of Lemon Italian Ice at Dollar Tree and saving the little cups, thinking I’d drill holes in them to make my own net pots. Then I found out there is a Hydroponic store in town that sells real ones for 18 cents a piece. I think I’ll just use the real ones.

If all of this works out, I think I want to move up to something like this:

Stalled…

Gah. Shipping from China is so hit or miss. I ordered some various Arduino parts from China, all around the same time. Some got here in a week, some got here in two. Some I still haven’t gotten, so my project is stalled. That’s ok, I’m thinking about messing around with some hydroponics in the meantime.