I’ve watched a bunch of YouTube videos on the subject, narrowed my approach down to two methods, and I may end up building both. One involves a rewound transformer salvaged from an old microwave oven, and the other a really big capacitor. I already have the transformer, so that’s where I will start.
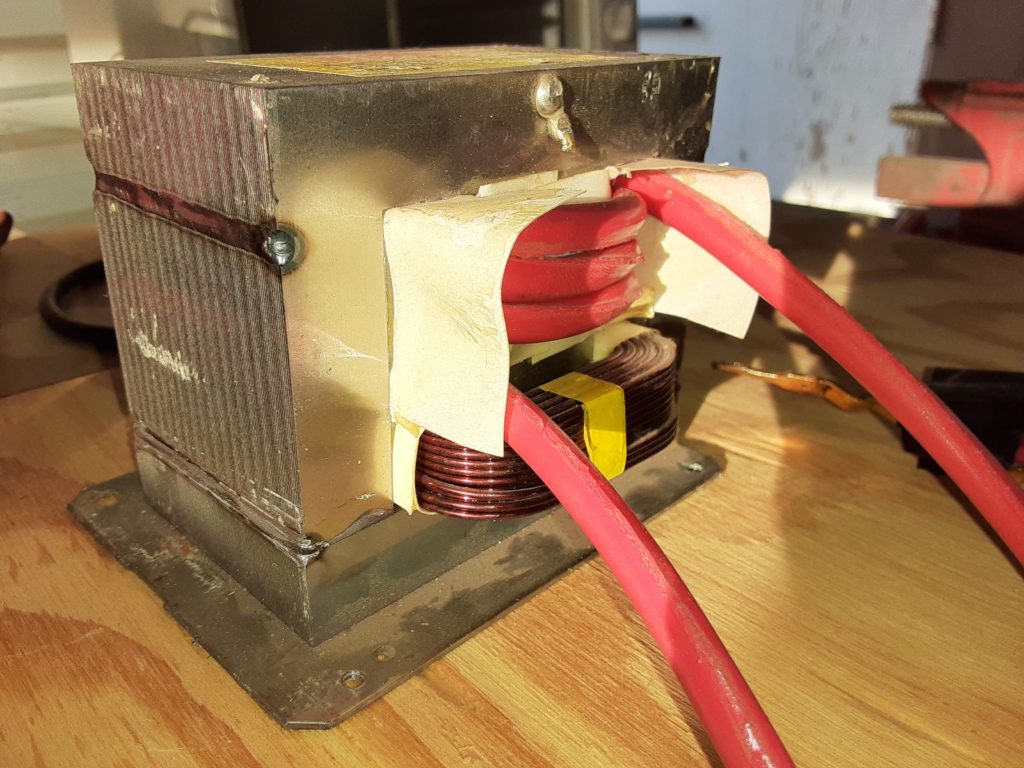
Step one involved pulling the transformer, and rewinding the secondary on it. Microwave transformers are built with many more turns of wire on the secondary than on the primary, so as to increase the voltage many-fold to run the magnetron. For my application, the secondary needs to be replaced with a low number of turns of heavy gauge wire, which should lower the voltage, but increase the current. I used a hacksaw to cut the weld on the transformer core, separated the two halves, and gently extracted the primary, the secondary and the magnetic shunts. I then wound three or four turns of old jumper cable around the core, reinserted the shunts and the primary, and used JB Weld to secure the two halves of the core to each other:

For the electrodes at the end of the cables, I soldered on halves of some sort of probe clamp I got on the cheap from the surplus store (EE Surplus, to be exact, that place is awesome).
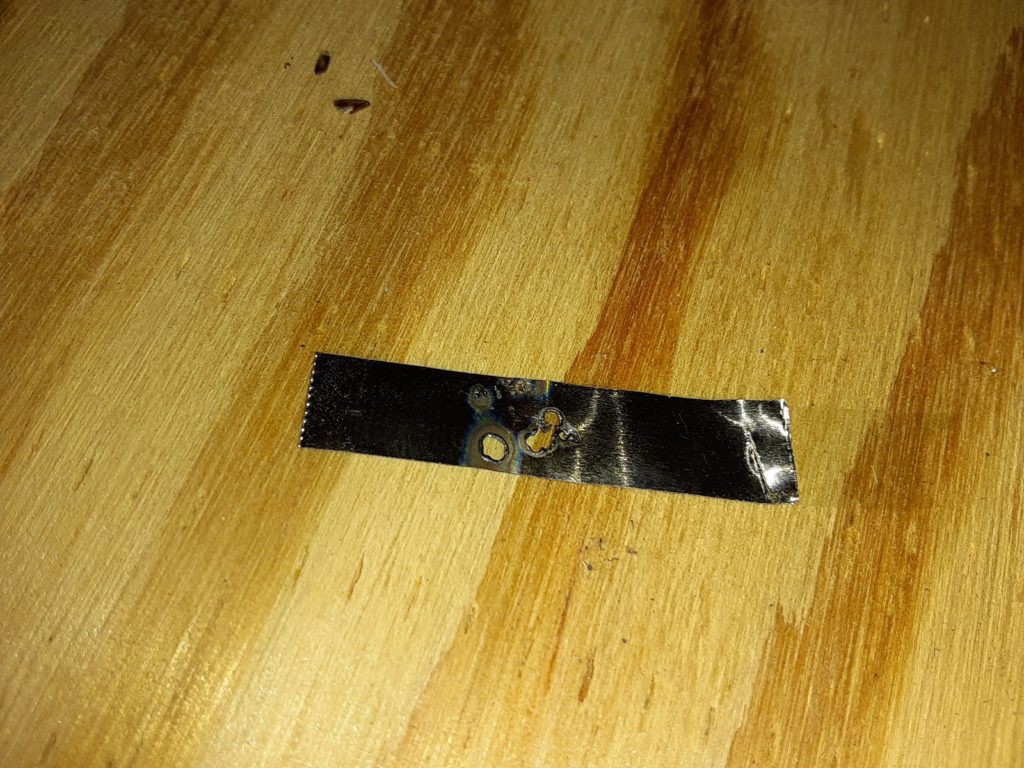
Now a word about this particular jumper cable. It got replaced because it wasn’t working very well as a jumper cable, and on a couple of occasions the insulation started melting while trying to jump start my truck, and I was afraid it was going to catch fire. When I cut into it for this project, I saw why. The actual gauge of the wire is fairly low, and the cable thickness is mostly insulation. Whotta rip-off! Anyway, this left me concerned that it was not going to be able to develop enough current in this application to actually spot weld anything, but my test welds revealed that there was plenty of current, and was actually blowing holes in the nickle strips:

I was able to get some welds that actually stuck to the battery by making the contact time as short as humanly possible, but it was hit or miss. What I need now is some way of controlling the current flow in a precise manner. Luckily, in one of the YouTube videos I watched the guy was having this very same problem, and he solved it by using an automotive starter relay that he controlled with a microprocessor that could be set for very small units of time. Well it just so happens that I bought one of these relays 35 years ago, never used it, and it has been in the bottom of my toolbox ever since. As for the microprocessor controller, I could build one with one of the Arduinos I have on hand, but to limit the complexity of the project, I jumped on Amazon and just purchased the same on he was using. It was cheap, and they’ve already worked all the bugs out of it. I’ll start figuring out that piece of the puzzle in part 2….